In this post, I will guide you on how to add a new product to Google Merchant Center.
After adding the new product, you will be able to edit it and promote it on Google Ads by choosing Shopping Ads for products.
How to add a new product to Google Merchant Center – video tutorial:
How to create multiple YouTube channels – step-by-step:
Step 1 – Google Merchant Center >>> Overview
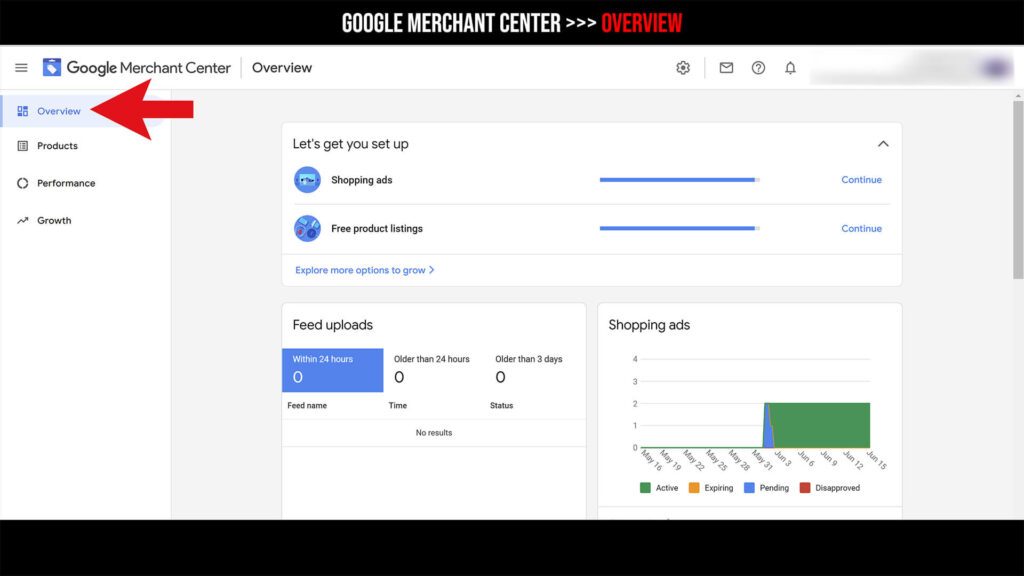
Step 2 – Products >>> All products

Choose “Add a product”

Step 3 – Add product >>> 1: Product date

Step 3.1 – Add product >>> 1: Product date >>> Country of sale and destinations

To define the parameters in this category, expand the menu:
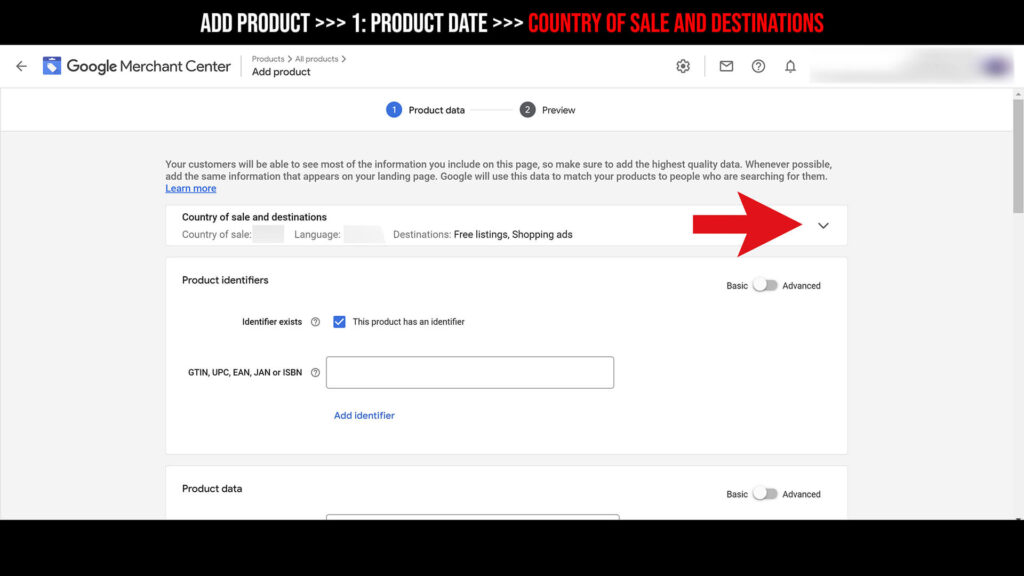
This category includes the following parameters:
Country of sale

Language
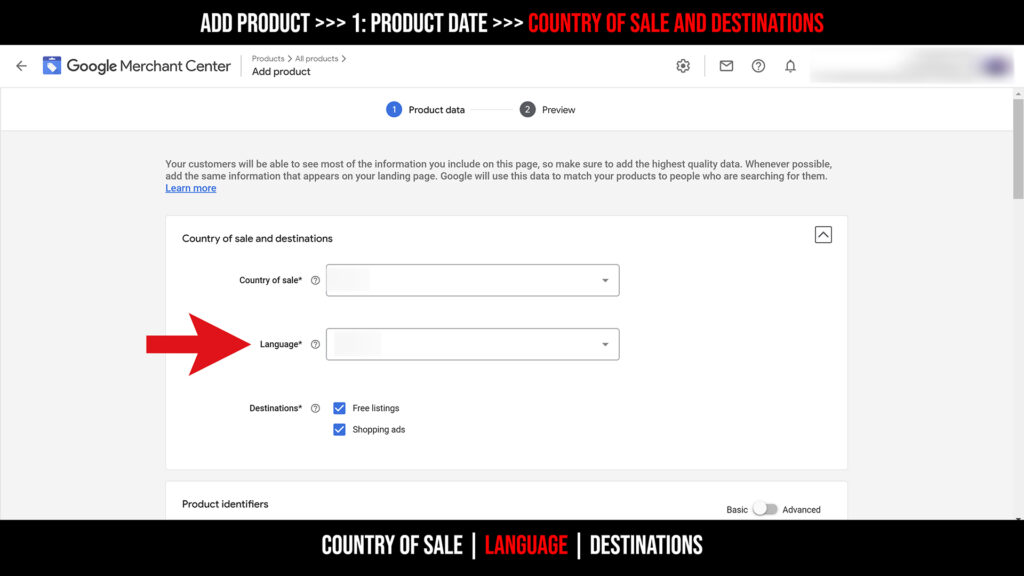
Destinations
- Free listings
- Shopping ads

Step 3.2 – Add product >>> 1: Product date >>> Product identifiers

This category includes the following parameters:
identifier exists

GTIN, UPC, EAN, JAN or ISBN

This is the definition of GTIN, UPC, EAN, JAN or ISBN:
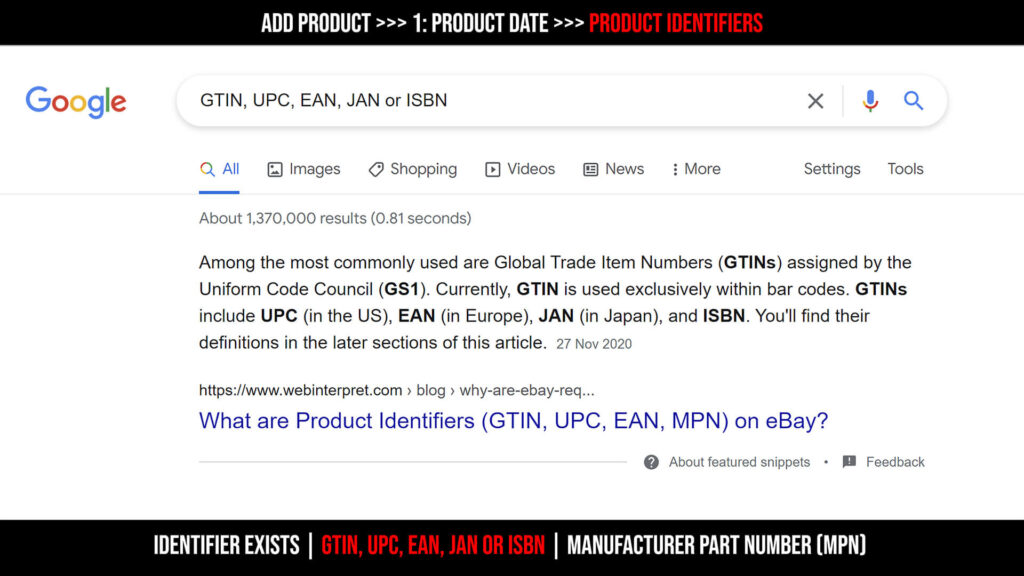
And this is how the GTIN, UPC, EAN, JAN or ISBN should look like:
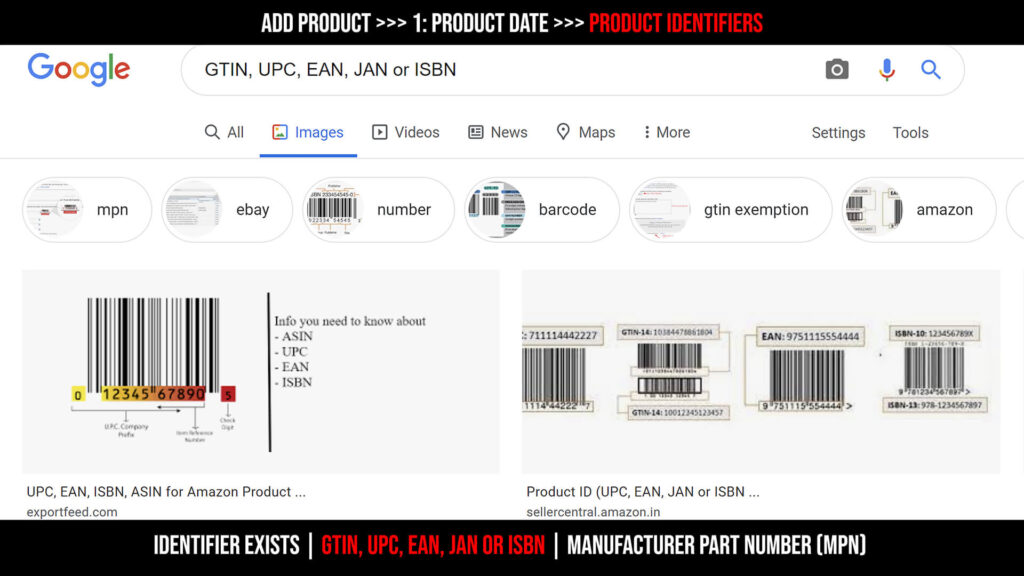
Switch the “Basic >>> Advanced” to expand this category:

Manufacturer Part Number (MPN)

Step 3.3 – Add product >>> 1: Product date >>> Product data

ID or SKU

Title*

Brand

Description

(Landing page) Link*

Image link*
In Image link you can do the following:
Go to the item’s product page on your website >>> click on the right button >>> copy image address

Step 3.3.1 – Add product >>> 1: Product date >>> Product data >>> Advanced
Switch from “Basic >>> Advanced”


Mobile link

Additional image link

Step 3.4 – Add product >>> 1: Product date >>> Price and availability
Price* | Availability
Availability date | Expiration date | Sale price | Sale price effective date
Step 8 – Add product >>> 1: Product date >>> Detailed product description
Condition | I have an apparel or variant products
Choose the relevant Attributes
Step 9 – Add product >>> 1: Product date >>> Detailed product description >>> Advanced
Adult | Multipack | Is bundle | Size type | Size system | Item group ID
Product highlight | Energy efficiency class | Max energy efficiency class | Min energy efficiency class | Product detail
Step 10 – Add product >>> 1: Product date >>> Shipping, tax, and returns
Shipping
Step 11 – Add product >>> 1: Product date >>> Shipping, tax, and returns >>> Advanced
Shipping label | Shipping weight | Shipping length | Shipping width | Shipping height
Transit time label | Min handling time | Max handling time | Return policy label
Step 12 – Add product >>> 1: Product date >>> Additional Product data
Shopping campaigns and other configurations
- Ads redirect
- Promotion ID
- Custom label 0-4
Product category
- Google product category
- Product type
- Add product type
Step 13 – Save the product data
Step 14 – Add product >>> 2: Preview
Step 15 – Go to all products
The product was added to “All products”
You can edit the product
After You create a new product on Google Merchant Center, you can promote it on Google Ads.
Google Ads >>> Shopping Ads
FAQ:
Q: A product I recently added is “Disapproved or invalid” – What to do?
A: First, you need to figure out what is the cause for that.
To do that, click on the item you added to Google Merchant Center, and go to “Item status”.
- Issue – will show you all the problems you currently encounter.
- Destinations
- Actions – Guidance on what to do.

For further questions – please comment on this article and I will be glad to assist you
I invite you to:
Subscribe my YouTube channels:
Follow & subscribe “OVR” on:

